
When making an Elastic Bracelet, stretch your hands to hold the beads. You can use your thumb and index finger to hold them close together, and then move them away from each other. This ensures that you activate the elastic and create a seamless appearance. Once the elastic is stretched, you can slide it around your wrist and add other beads, if desired. If you are unsure about stretching the elastic, use Stretch Magic.
Stretch Magic
One of the easiest, most effective ways to add a little extra pizazz to your outfit is by making a Stretch Magic elastic bracelet. These stretchy bracelets are perfect for quick additions to a special evening dress, and they are inexpensive to make. You can string a stretch bracelet in no time at all. The elastic cord is made of clear Stretch Magic, which is strong and elegant, but also stretchy. It also features non-fraying ends, which make threading it a snap.
Aside from making it comfortable to wear, the stretch bracelet also offers additional benefits. Because it is made with a double strand of elastic, it has extra strength and lasts a long time. You can wear your Stretch Magic elastic bracelet without worrying about the beads getting tangled up. It’s also easy to store in your handbag, and is the perfect accessory to make a statement. But before you do that, you’ll need to stretch the elastic bracelet.
To make it look more attractive, you can use a spacer bead with a large hole to hide your knot. You can also place a focal bead in the middle of the design. This will still match up in the end. This is a simple way to make a beautiful elastic bracelet that’s comfortable. In the end, you’ll have an amazing bracelet that is incredibly comfortable and will keep you looking great.
Elastic cord
Making an elastic cord bracelet is an excellent way to add style to your wardrobe. The design is as versatile as your imagination and your creativity! It doesn’t require any special tools to make it, and you can use any craft materials you have lying around your house. Here are some simple tips for creating a stylish and comfortable Elastic Bracelet Beige:
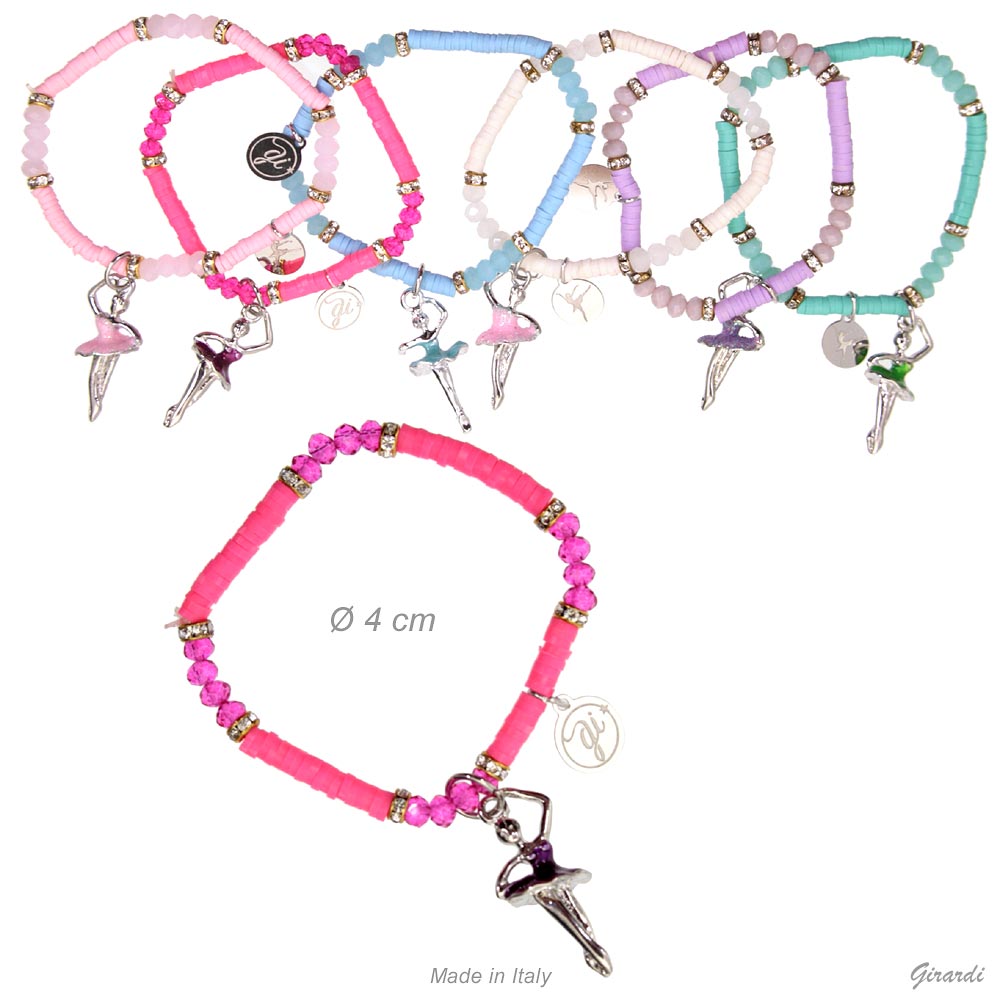
You’ll need beads. Plastic beads are a great choice because they’re inexpensive, and have larger holes. Glass beads are also a great choice, as they come in many different colors. Seed beads can also be used, as long as they have a large enough hole. You’ll need to string the beads onto the elastic cord, and it stretches just like a rubber band. Make sure that your beads have large enough holes to fit on the elastic cord.
You can use elastic cord for many things, including necklaces, anklets, and bracelets. You can also use it to repair beaded jewelry. The stretch and durability of this material will prevent the beads from being damaged. Also, it will not wear off or lose their color. And, it won’t weaken your essential oil beads! Try one of these great ideas today and start wearing your gorgeous bracelet! The possibilities are endless!
Plastic beads
You can make your own bracelet with plastic beads on an elastic cord by following a few steps. The first step is to tie a knot. You can use needle nose pliers to help you knot the elastic cord. After you have tied the knot, you should use glue to secure the bracelet. Make sure you use a flexible glue that is designed for jewelry and fabrics. Once the glue dries, you can wear your bracelet.
Before tying the beads, you should make sure that the elastic cord is stretched gently. This will prevent gaps. You can also use binder clips or folding tape to secure the beads on the elastic cord. Remember to store your bracelet away from oils, sunlight, and chemicals. It is important to make sure that the elastic cord is kept away from your skin so that it doesn’t get damaged. You can also use binder clips to keep the elastic from sliding off.
You can use pony beads on your elastic bracelet if you’re working with a child. These are very popular for a variety of beading projects and are available in over 175 colors. They can be used to create personalised jewelry or accessories. You can also write a special message on them. They’re also great for making key chains and other crafts. In addition to bracelets, you can make personalised gift items with these beads.
Surgeon’s knot
The Surgeon’s knot is one of the most popular jewelry knots. It is similar to a square knot, but has a second pass-through on the first half. The additional twist makes the cord less likely to slip as you wear the bracelet. This makes it a great choice for bracelets that stretch. Using a surgeon’s knot will keep the bracelet in place during wear and prevent it from coming untied.
The surgeon’s knot is made by wrapping the two ends of string around the second end. Then, slip the second end through the loop and tie it tightly. When tying the knot, be sure to apply a small dab of glue to hold the bracelet in place. Be sure to wait a few hours before wearing the bracelet because the glue will dry quickly. It can take up to 24 hours for the knot to set.
Once the wire is crimped, thread it back through the seed bead. Tuck the tail of the wire into the beads. The wire should be securely fastened to the clasp. If it is loose or tight, you can adjust the knot to fit better. To do this, just pull the crimp off the wire and remove the seed bead. Replace the seed bead when the bracelet fits well.
Bead trays
If you’re planning to make an elastic bracelet, you need a tray for your beads. There are many types of trays available on the market, and choosing one can make your bracelet more attractive. The most important thing to keep in mind is the size of the beads. The elastic cord should have the holes of the desired size. You can check this out at a local bead store before buying it. Most stores will allow you to try it on a sample of beads.
Using a bead tray for elastic bracelets will keep them organized. It will also keep your beads from falling off the string. The bead tray should have a large enough space for each strand of thread. Make sure that you buy a tray that is the same size as your wrist so you can make the beaded bracelet the way you want it. Bead trays are essential for beaders and you should have several on hand.
Bead trays for elastic bracelets come in several sizes. The smallest one is ideal for smaller beads, but for larger ones, a tray is essential for easy assembling. Some trays are even flexible enough to double as a beading pattern template. Bead trays are also useful for measuring the size of the beads needed for a specific design. Using a bead tray will help you create a beautiful bracelet that you can wear on a regular basis.
Beading supplies
Beading supplies for elastic bracelets are available online and at your local craft store. These bracelets are simple to make and are very comfortable to wear. You can even create a personalised bracelet with your own design. If you have never made an elastic bracelet before, here are some tips to help you make one:
First, you need to get the right cord. The elastic you choose should be strong enough to hold all the beads you are going to use. Choose the largest cord that can accommodate all of your beads. Also, make sure to choose a cord that can be doubled over or strung without a needle. Choosing the right cord will make the process go smoothly. Make sure the elastic is long enough to fit your wrist.
Elastic cord is perfect for beginner beaders. It is easy to string and won’t stretch out like regular cords. The elastic cord also stays in place well, so you can wear it for a long time. Besides, it’s inexpensive. You’ll only need a few beads, a bead nipper, and some glue. Once you have the materials, you can begin making your own elastic bracelet.
Before you begin stringing beads onto an elastic cord, make sure that you measure your wrist. Choose the right size for your wrist, since large beads will add bulk to the bracelet. Once you’ve finished, use needle nose pliers or your fingertips to close the loop on the bead’s tip. You’ll want to make sure the last beads are almost touching the crimp cover. After that, it’s time to add the clasp and begin stringing your bracelet.